Picture walking into a clean, serene home where everything has its place—a true sanctuary. Knowing the most effective order in which to clean your home makes that dream a real, attainable, and pleasant one.
Let’s take a look at some step-by-step ways of creating such a harmonious, clutter-free home.
Step #1. Declutter First
First, clean up the clutter in every room before actually cleaning it. Take out everything that is out of place, such as clothes, dishes, and anything else. This makes it easier when cleaning because you are left with clean surfaces to work on that you will not need.
Pro-tip: In addition to this step, sorting things into categories, such as “keep,” “donate,” and “discard,” could also mean a long-term solution to your clutter problem.
Step #2. Thorough Dusting
Start dusting after you have de-cluttered the space. Dust will settle on any bare surface; starting here prevents this from landing on other places that you’ve already cleaned. Take a microfiber cloth or duster to the surfaces of shelves, countertops, furniture pieces, and decorations.
Do not forget some of the less obvious areas like fans on the ceiling, fixtures of the lights, and baseboards. For hard-to-reach areas, use a vacuum with an attachment for extension or an electrostatic duster.
Step #3. Surface And Appliance Cleaning
Following dusting, begin surface cleaning and appliance cleaning: countertops in the kitchen, stovetop, and the fronts of appliances like the refrigerator, microwave, and dishwasher. Sinks and countertops, among other fixtures, should be cleaned in the bathroom area.
For mixed living areas and bedrooms, focus your attention on surfaces. Use the appropriate cleaning agents for different surfaces to avoid damage, such as glass cleaners for mirrors and all-purpose cleaners for countertops.
Step #4. Vacuuming And Sweeping
With the surfaces clean, take up the carpets and rugs and begin vacuuming them for dust, dirt, and allergens—use attachment devices to get into corners, edges, and upholstery. For hard floors, sweep or dry-mop all debris that can be collected before mopping.
Doing so will ensure that visible dirt is taken out and that the floors are ready for deeper cleaning!
Step #5. Mopping Floors
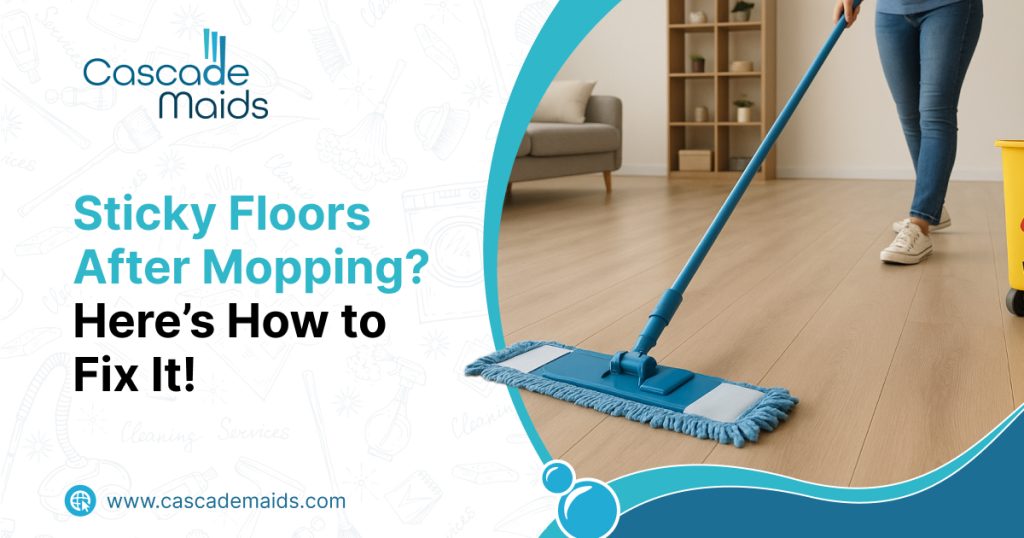
Mop the floors after sweeping or vacuuming to remove any residual dirt and disinfect the surface. However, make sure you pick an appropriate floor cleaner for your floor type.
For better results, mop in sections, such as starting from the most distant corner and working your way toward the exit. Ensure that you wring out the mop adequately to prevent water damage, especially on wooden or laminated flooring.
Step #6. Cleaning Windows And Mirrors
Now that the floors are clean, you should focus your attention on windows and mirrors.
The glass surfaces are better cleaned with a streak-free cleaner using a lint-free cloth or paper towels. Larger windows can be handled more professionally by using a squeegee.
Note: Make sure you clean these after all of the steps above so that any lingering dust can easily be taken care of.
Step #7. Garbage And Recycling Removal
Finally, collect all garbage and recyclables from each room. This will help eliminate odors from building up, along with keeping your home clean and hygienic. Replace liners and consider separating items to be recycled to make waste management easier.
Cascade Maids Will Handle The Cleaning For You!
Don’t let household chores overwhelm you any longer. Our professional cleaning services can help you maintain a pristine and organized home with ease. Allow our experts to clean up the mess so you can enjoy your sanctuary. Book a cleaning session today!


